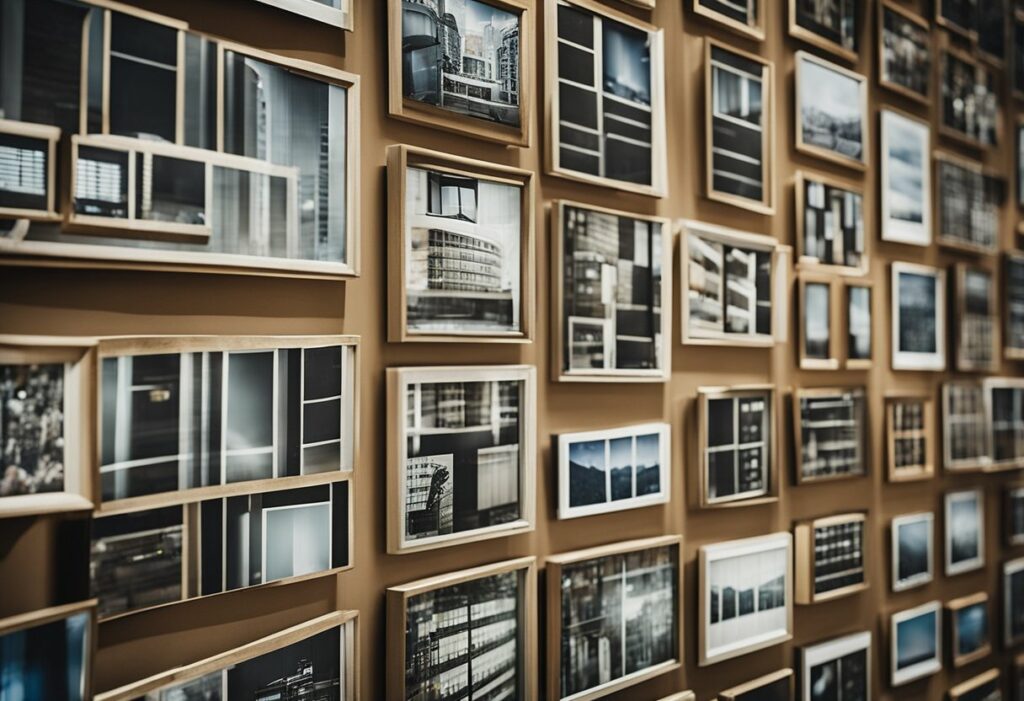
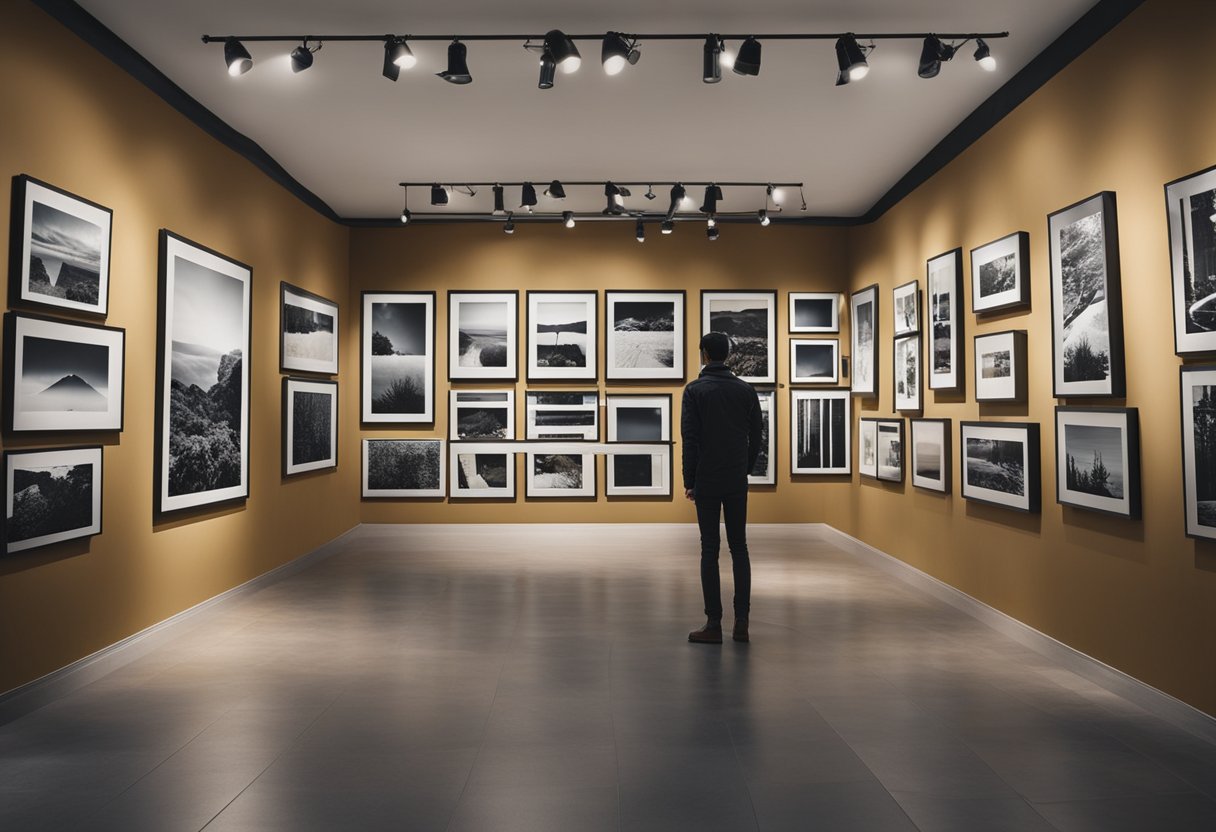
Before getting started, it’s important to consider the layout of your gallery wall and learn how to properly hang the artwork to ensure a polished look. Experimenting with different arrangements and designs can help you achieve a unique and personalized gallery wall that is both functional and aesthetically pleasing.
Key Takeaways
- Careful selection and arrangement of artwork is crucial for creating a visually appealing gallery wall.
- Proper layout and hanging techniques can enhance the overall look and cohesiveness of your art display.
- Personalizing and experimenting with different designs helps to create a unique and captivating gallery wall that reflects your taste and style. Check out a stunning photo restoration gallery for inspiration.
Selecting and Arranging Artwork
The Art of Choosing Frames
When it comes to designing a gallery wall, selecting the right frames is essential. A well-chosen frame can elevate the artwork and contribute to the overall aesthetics of the gallery. Frame options can vary from wood, metal, or even just a simple matte border. Consider the style of your artwork and the surrounding décor while choosing the frame materials.
One approach is to opt for an eclectic mix of frames, which can create a visually engaging and dynamic display. However, maintaining a consistent element, such as the color or finish, can help tie the diverse frames together. For a more cohesive look, you might also select matching frames for all your pieces. This approach creates harmony but can still be interesting if you mix various artwork types such as prints, photographs, and canvas art.
Mixing Styles and Colors
A successful gallery wall is a reflection of your personal style, which means it should include a mix of colors, styles, and media. Combining different artwork types, from family photos to abstract prints, creates a visually captivating and unique collection.
To ensure balance, consider how the colors, shapes, and sizes of each artwork will interact with one another on your wall. Experiment with the placement of different pieces, for example pairing a bold, colorful painting with a more subdued black and white photograph. If your artwork features diverse styles, try grouping them according to similar themes, color palettes, or materials.
Don’t be afraid to mix and match; combining contrasting elements can result in a dynamic gallery wall. However, it’s important not to go overboard with clashing styles. Instead, determine a balance between consistency and variety in your gallery wall to create an impactful and visually cohesive display.
Gallery Wall Layout Guidelines
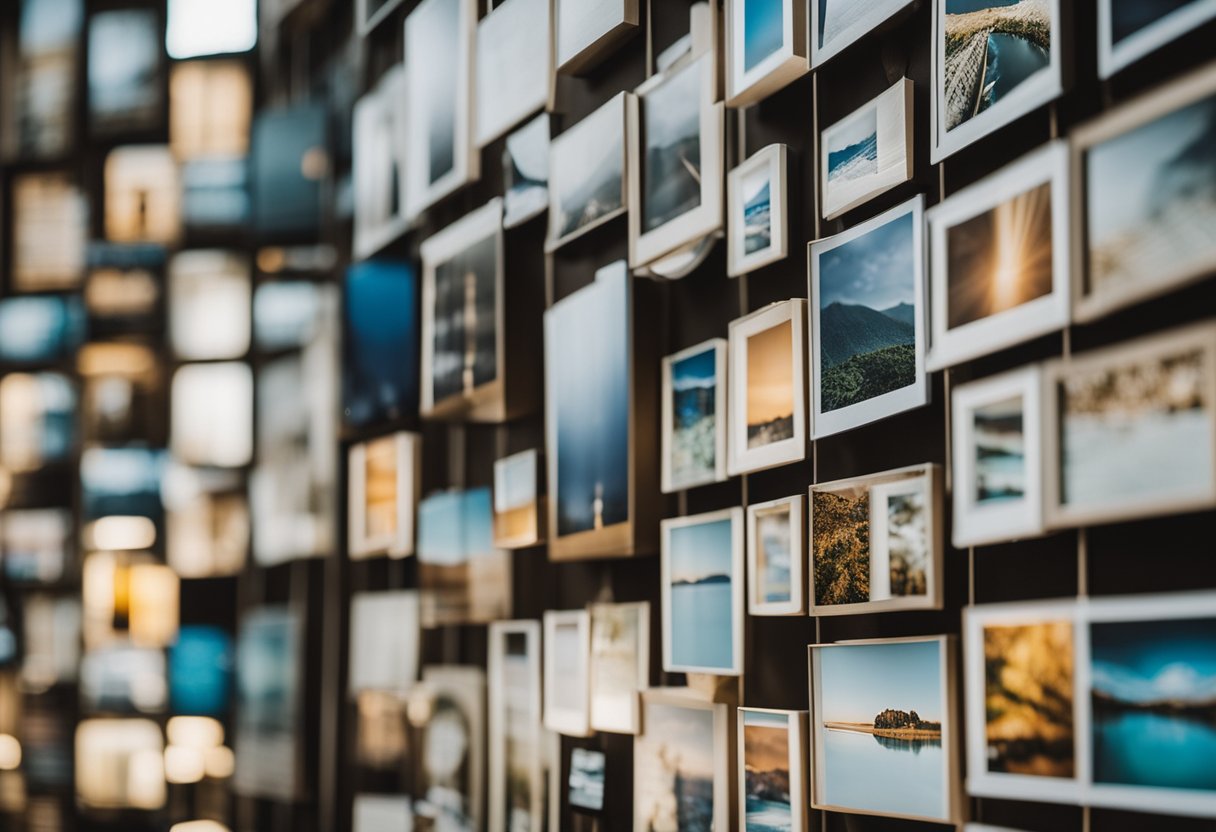
Creating a gallery wall involves careful planning and a keen eye for design. By following a few simple guidelines and understanding different layout options, you can achieve a balanced and visually appealing gallery wall for your space.
Grid Patterns
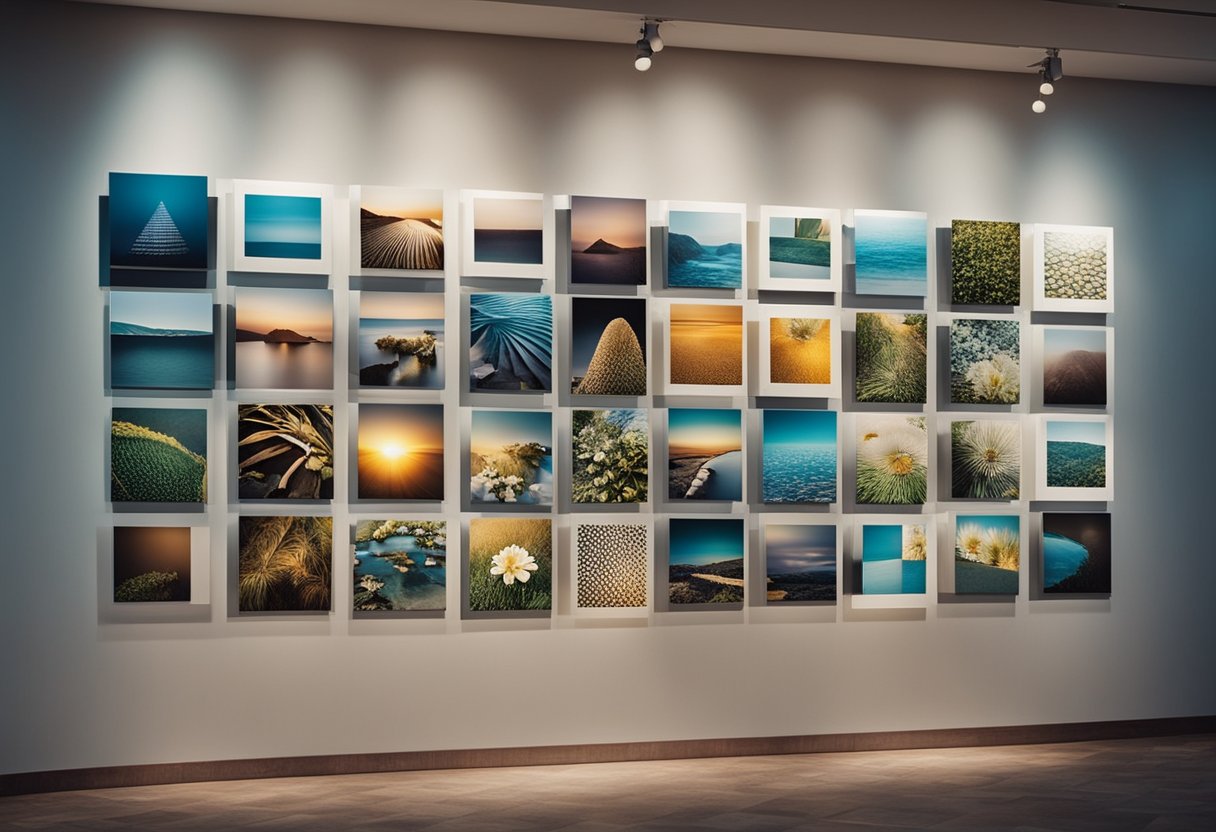
Grid patterns are an excellent choice for a structured and organized look. In this layout, you arrange the artworks in a neat grid, with equal spacing between each piece. This pattern works well with similarly-sized artwork or matching frames, creating a cohesive and harmonious display. To achieve a grid layout, measure the size of each artwork and ensure you maintain consistent spacing horizontally and vertically.
Vertical and Horizontal Arrangements
For a more dynamic and varied display, consider experimenting with vertical and horizontal arrangements. This can involve alternating between portrait and landscape orientations or combining different sizes of artwork. The key to this approach is to maintain balance in the layout, even with different artwork sizes, by ensuring the overall arrangement is visually appealing.
For instance, you can place a large vertical piece next to a group of smaller horizontal artworks or vice versa. To achieve a balanced look, it’s essential to pay attention to the heights and widths of each piece and achieve a sense of symmetry even in an asymmetrical arrangement.
Focal Point and Anchor Piece
When designing a gallery wall, it’s crucial to consider the focal point and anchor piece. The focal point is the center of attention in your arrangement, and the anchor piece serves as the foundation for the entire layout. Choosing a standout artwork as your anchor piece can set the tone and style for the gallery wall.
To determine the ideal focal point, consider the room’s layout, furniture, and overall design. The focal point should be placed at eye level or slightly above to draw attention and create a balanced layout. Once you’ve established the focal point, arrange other pieces around it while maintaining a visual balance between all the artworks.
In conclusion, these guidelines and layout options will help you to create a gallery wall that is visually engaging and complements your space. Whether you choose a grid pattern, a mix of vertical and horizontal arrangements, or a focal point with an anchor piece, careful planning and attention to detail will ensure your gallery wall achieves the desired effect.
Hanging the Artwork
Tools You’ll Need
To create a gallery wall that looks professional and polished, gather these essential tools before you begin:
- Level: Ensures that each piece of art is hung evenly and straight.
- Pencil: Useful for marking spots on the wall where nails or picture hangers will be placed.
- Hammer: Required for driving nails into the wall securely.
- Tape measure: Accurate measurements are crucial for proper spacing and alignment.
- Mats: Optional; can be used to help visually separate the artwork from your wall if desired.
- Picture hangers: These can be hooks, brackets, or other hanging hardware specific to your artwork.
Correct Measurements
Start by measuring the dimensions of each piece of artwork and the space where you want your gallery wall. When arranging the pieces, maintain a consistent spacing between them, typically 2-3 inches apart for a cohesive look. Use a pencil to mark the locations of the nails or picture hangers on the wall, considering the placement of the hanging hardware on the back of each artwork. Remember to leave a few inches of space above any furniture below the gallery wall.
Precise Execution
Once you have your measurements and tools ready, start by hanging the central piece of your gallery wall, as it forms the anchor for the rest of the layout. Use the level to ensure it is hung straight. Next, work your way outward, hanging each additional piece, double-checking their alignment with the level and tape measure. Be mindful that the edges of each artwork are in line with their neighbors.
Secure the artwork to the wall with nails or picture hangers, keeping in mind that the hanging method may vary depending on the weight and size of the pieces. For heavier artworks, opt for more robust hardware like brackets or wall anchors. Once your gallery wall is complete, step back to admire your work, adjusting any pieces if necessary to ensure a clean and unified aesthetic.
Final Touches for a Cohesive Look
Setting an Aesthetic
To create an impressive gallery wall, it is essential to establish a clear aesthetic. Start by defining the overall theme you want to achieve. This could be anything from a specific art style, subject matter, or even a color palette that ties all the elements together. Consider the space you are working with and identify a suitable design approach. For example, a minimalist theme might work best in a small room with limited wall space, while a more eclectic look might be fitting for a larger area.
Choose a color palette that complements the room and its existing décor. A cohesive look can be achieved by using similar shades throughout the gallery wall. This might involve selecting artwork with similar hues, coordinating frame colors, or even incorporating colored matting to create a subtle connection between the different pieces.
Contrasting and Complementing
Another important aspect of creating a cohesive gallery wall is striking the right balance between contrasting and complementing elements. Achieving this requires carefully selecting the artwork and arranging it in a way that showcases each piece’s unique features without overwhelming the layout.
Contrasting elements add visual interest and can help break the monotony of a uniform color palette or theme. A helpful approach is to combine smaller prints with larger ones, making sure not to cluster similarly sized pieces too closely. Furthermore, incorporating various frame styles and materials can contribute to the overall aesthetic while still keeping a cohesive touch.
Complementing elements, on the other hand, can establish unity and harmony within the gallery wall design. Aligning frames along their edges or centers creates a sense of order, while incorporating similar art styles or subjects reinforces the overall theme. Additionally, maintaining a consistent spacing between artworks contributes to a more polished and cohesive look.
By incorporating these tips while considering the desired theme, color palette, and aesthetic, you can create a stunning gallery wall that feels both cohesive and visually captivating for your space.
Experiment and Personalize
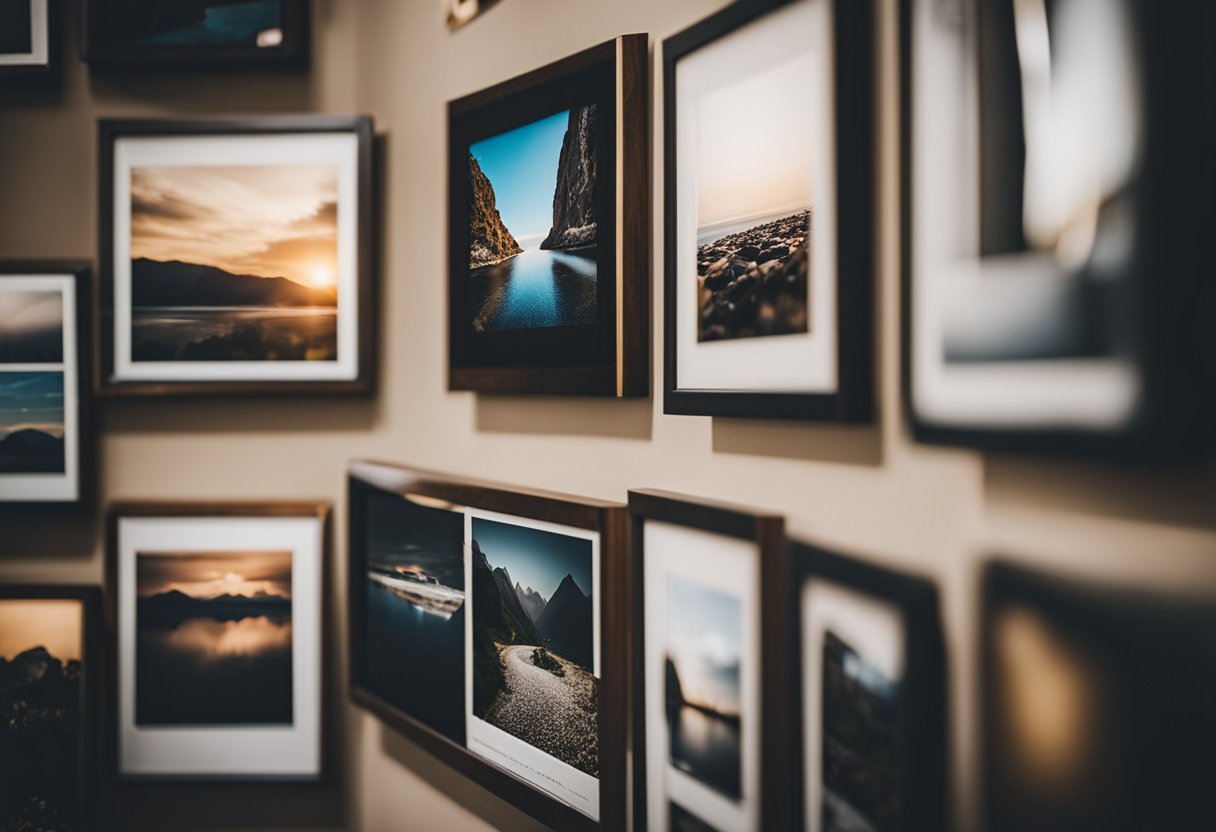
When creating a gallery wall, it is essential to embrace the process of trial and error in order to achieve a personal and eclectic look. To do this, consider creating a mock-up of your gallery wall by using paper templates or virtual tools. This will allow you to experiment with different layouts, themes, and colors until you find a combination that reflects your personality.
Incorporating a variety of art styles and mediums can add an eclectic touch to your gallery wall. For example, you could include paintings, photos, prints, and even small sculptures to create a unique and diverse display. To blend these various elements seamlessly, use a common color palette or theme as a unifying factor.
Don’t be afraid to incorporate personal items, such as restored family photos, children’s artwork, or souvenirs from memorable trips. These items will add depth and meaning to your gallery wall, making it a true reflection of your personal story and interests.
Another great way to enhance the uniqueness of your gallery wall is by drawing inspiration from different sources such as interior design blogs, Pinterest, and Instagram. By doing so, you can discover creative ideas and personalized arrangements that you might not have considered otherwise.
In conclusion, the key to creating a gallery wall that truly reflects your individual style is to experiment, personalize, and find inspiration from various sources. By doing so, your gallery wall will stand out as a unique and eclectic centerpiece in your home, showcasing your interests and personal story.
Frequently Asked Questions
What is the best layout for a gallery wall?
The best layout for a gallery wall depends on your personal taste, the available space, and the pieces you want to display. However, some popular layouts include the grid layout, where frames are aligned in a symmetrical pattern, and the salon-style layout, where frames are hung more organically with varying heights and widths, creating an eclectic and visually dynamic feel. Experiment with different arrangements to find the one that suits your style best.
What are some tips for planning a gallery wall?
Planning a gallery wall involves several steps, starting with searching for inspiration and hunting for pieces. Next, set up a mock gallery on the floor or using paper templates on the wall to visualize the final result. This is a great moment to ask for feedback from friends or family and fine-tune your arrangement. Take pictures of different layouts to help you decide on the final design.
How can I incorporate shelves into my gallery wall?
Incorporating shelves into your gallery wall allows you to display more than framed photos or artwork. Consider adding a low display of frames with staggered heights on a shelf, or use floating shelves of various lengths to break up the flow of the wall. Combine artwork with decorative objects or plants to create a more diverse and interesting visual composition.
Which frames work best for a modern gallery wall?
For a modern gallery wall, clean lines and minimalistic designs are generally the best choices. Opt for simple black, white, or metallic frames with a slim profile, or go for frameless options like acrylic mounts or canvas prints. Mixing and matching frame styles can also create a visually engaging composition that adds depth and personality to your gallery wall.
Are there any tools or apps to help plan a gallery wall?
There are several tools and apps available to help you plan and visualize a gallery wall before you start hammering nails into the wall. These tools provide you with templates and pre-set layouts to make the planning process smoother. Some popular tools for gallery wall planning include smartphone apps like Gallery Wall Designer and Layout Tool, or web-based tools such as I’ve Got a Wall and Studio McGee’s Gallery Wall Guide.
How can I create a vintage-inspired gallery wall with family photos?
Creating a vintage-inspired gallery wall starts with selecting the right family photos, showcasing different times, generations, and special moments. Choose a mix of sepia-toned, black-and-white, and color photos to create a diverse collection. Experiment with custom photo wall ideas and rural frames featuring distressed finishes, ornate detailing, or antique-style materials to evoke that nostalgic feel. Incorporate other sentimental items, like heirlooms, memorabilia, or handwritten notes, to enhance the personal connection and tell the story of your family’s history.

